Comprehensive Guide to create simple app using React Native Web and React Native Elements
Case study: gitphone, GitHub repository checker for your smartphone.
ToC
- Initialize the project using CRNWA
- Make sure everything works: Android, iOS and Web
- Add RNE latest ( 1.0.0-beta7 ) to the project
- Add 2 screens
Screen 1 RNE components:
- Input
- Button with Icon
Screen 2 RNE components:
- Header
- ListItem
- Avatar
- Text
gitphone should have:
- routing, react-router. It works great both on Native and Web.
- calls to GitHub API. See https://developer.github.com/v3/.
0️⃣ Initial Step
Install create-react-native-web-app
$ npm i -g create-react-native-web-app
1️⃣ First Step
Create gitphone project.
λ create-react-native-web-app gitphone

⏳ Creating React Native Web App by the name of gitphone ...

✅ Created project folder.

✅ Added project files.

⏳ Installing project dependencies...

yarn install v1.10.1
[1/4] Resolving packages...
[2/4] Fetching packages...
info fsevents@1.2.4: The platform "win32" is incompatible with this module.
info "fsevents@1.2.4" is an optional dependency and failed compatibility check. Excluding it from installation.
[3/4] Linking dependencies...
[4/4] Building fresh packages...
success Saved lockfile.
Done in 797.66s.

✅ Installed project dependencies.

✅ Done! 😁👍 Your project is ready for development.

* change directory to your new project
$ cd gitphone

$ Then run the these commands to get started:

* To run development Web server
$ yarn web

* To run Android on connected device (after installing Android Debug Bridge "adb" - https://developer.android.com/studio/releases/platform-tools)
$ yarn android

* To run ios simulator (after installing Xcode - only on Apple devices)
$ yarn ios

* To run tests for Native and Web
$ yarn test

* To run build for Web
$ yarn build
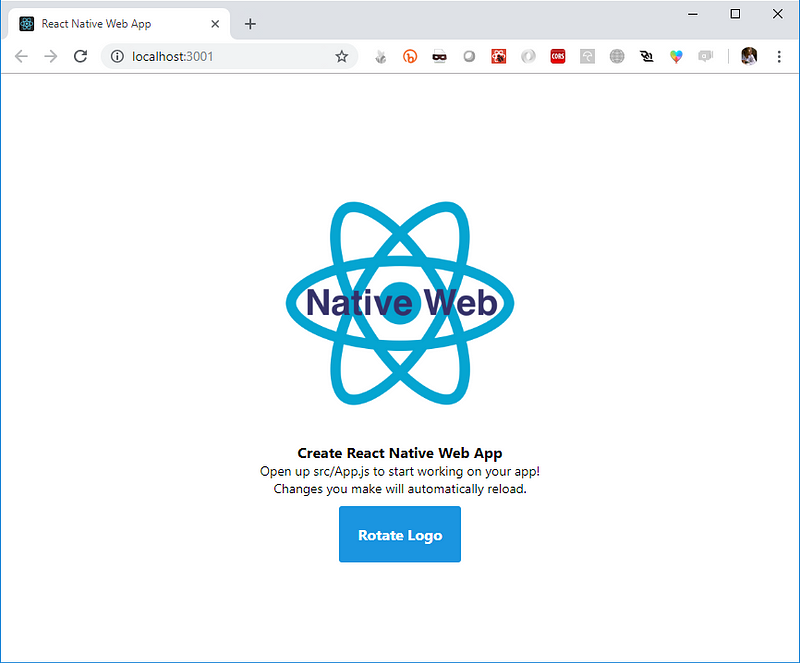
Change to gitphone directory and test the web app by running yarn web.
Starting the development server...
Compiled successfully!
You can now view create-react-native-web-app in the browser.
Local:            http://localhost:3001/
On Your Network:  http://172.26.235.145:3001/
Note that the development build is not optimized.
To create a production build, use yarn build.
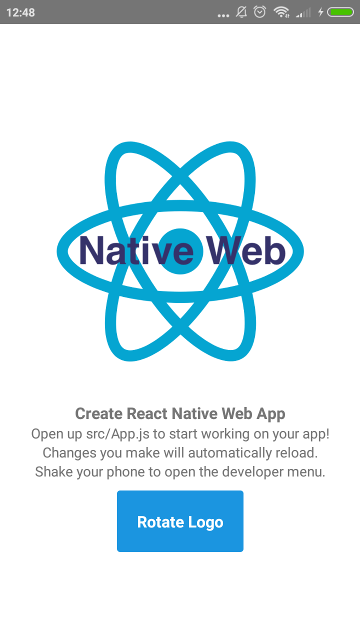
Now, test the gitphone android app by running yarn android.
Installing APK 'app-debug.apk' on 'Redmi 4X - 7.1.2' for app:debug
Installed on 1 device.

BUILD SUCCESSFUL

Total time: 21.783 secs

Starting: Intent { cmp=com.creaternwapp/.MainActivity }
✨  Done in 25.64s.
If the build successful, you'll see the app installed on your Android (emulator) device.
But if you got an error when run yarn android, please see Troubleshooting section below.
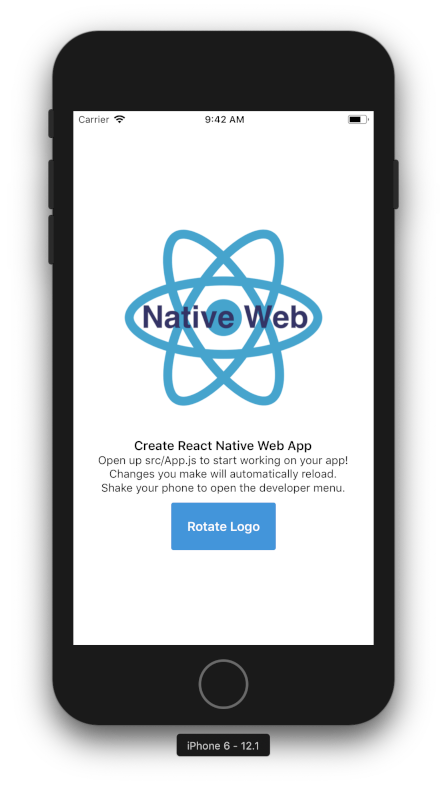
The last part for First Step, make sure it can be run on iOS without any problem. Run yarn ios and voila!
2️⃣ Step Two
Installing React Native Elements (RNE).
$ yarn add react-native-elements@beta
Installing React Native Vector Icons (RNVI).
$ yarn add react-native-vector-icons
Linking:
$ react-native link react-native-vector-icons
Both RNE and RNVI are written using es6. If you run yarn web at this point, you'll got an error.
./node_modules/react-native-elements/src/config/withTheme.js
Module parse failed: Unexpected token (12:28)
You may need an appropriate loader to handle this file type.
We need to tell webpack to transpile them.
- Open
config/webpack.config.dev.js - On line 141
Process JS with babel, add RNE and RNVI to include - Do the same for
config/webpack.config.prod.jsas well 👌
If you get lost, see this gist or commit 8c0e603.
3️⃣ Give it a try
Now, let's grasp the idea how RNE works.
Open src/App.js
Import Button from RNE
import { Button } from 'react-native-elements';On render, change TouchableHighlight to use RNE's Button
Run yarn ios, yarn android and yarn web to see it in action! 👏
Note: If you got an error Could not find com.android.tools.build.appt2 when running yarn android, add google on the gradle repositories.
See this gist or commit for the details: a2ebba1.
4️⃣ Add Home component
Our first component will be Home. On this component, there are two input fields and one Submit button.
- Inside
src, create new folder:Components - Add new file called
Home.jsgist - On
App.js, importHomecomponent gist - Run
yarn ios,yarn androidandyarn webto see it in action! 🎇
Styling for Home component
You should notice that our Home doesn’t look good in term of UI. Let’s add styling for it.
- Inside
Components, createShared.style.jsfile gist - Import the style and update
Homecomponent as below gist - Looks better now*, commit for adding Home component: 2e510c4.
Wait a minute… *Seems there is a problem with RNVI on the web version. You can check this Web (with webpack) article or just following steps bellow.
- Open
config/webpack.config.dev.js - Add url-loader on line 162 gist
- Do the same for
config/webpack.config.prod.jsas well 👌 - Open
src/index.jsfile - Add
iconFontand appendstyleto document’s head gist
 Our RNE x RNW progress so far~
5️⃣ Routing
Next, let’s add second component: CommitList.
- Create new folder inside
ComponentsnamedCommit - Add new file:
CommitList.jsgist
On our app, user goes to second screen by click on Submit button. How do we implement it?
“react-router comes to the rescue” - https://reacttraining.com/react-router/
Add react-router-dom and react-router-native
$ yarn add react-router-dom react-router-native
Web needs BrowserRouter while native NativeRouter. We need to separate it based on the platform.
- On
src, createUtilsfolder - Add two files on
Utils:Routing.native.jsandRouting.web.jsgist
Those file’s content differ only on the second line. gist
Now, glue it together.
Open
App.js, importCommitListcomponentImport
Route,RouterandSwitchfromUtils/RoutingImplement routing inside
rendermethod gistNow for the action on
Submitbutton, openHome.jsImport
withRouterfromUtils/Routingimport { withRouter } from '../Utils/Routing';WithRouteris an HOC. Use it to wrapHomecomponentexport default withRouter(Home);Add
onPressproperty for the buttononPress={this.onPressButton}Implement the
onPressButtonevent handleronPressButton = () => this.props.history.push('/commit');
Test it on web and android, you should be able to go back and forth between screens using Submit and pressing Back button.
“How can I go back on iOS?” 😂
Implement withHeader
We will create a withHeader HOC. Why HOC? We can reuse it easier if we add more screens later.
On
src, createHOCsfolderAdd
withHeader.jsfileImport
Headerfrom RNE andIconfromRNVI/FontAwesomeimport { Header } from 'react-native-elements';
import Icon from 'react-native-vector-icons/FontAwesome';withHeaderaccepts one prop:titleconst withHeader = ({ title = '' }) => (WrappedComponent) => {Event handler to go back / go home
goBack = () => this.props.history.goBack();

goHome = () => this.props.history.replace('/');
Import and use
withHeaderinCommitListcomponent gist | commit
6️⃣ Fetch data from GitHub API
Let’s fetch a real-live data: list commit on repository by GitHub and render it on our second screen, CommitList.
GET /repos/:owner/:repo/commits
Ideally, the :owner and :repo are form values from our first screen. Since the objective of this article is RNE x RNW, talk about that form (and state-management) later on.
To fetch GitHub API, we will use fetch-hoc package and also need compose from redux, to handle multiple HOCs on the same component.
$ yarn add fetch-hoc redux
Open
CommitList.jsImport
{ compose }fromreduxandfetchfromfetch-hoc
Now run yarn web, open network tab of DevTools and click Submit button, you’ll see bunch of commit data. By default GitHub API returning 30 commits.
Render commit data
Commit data that will be displayed on the screen:
author.avatar_url

commit:
  author.name
  message
Let’s modify CommitList.js
Add new imports
import { ActivityIndicator, Dimensions, FlatList, Platform, View } from 'react-native';
import { Avatar, ListItem } from 'react-native-elements';
On main render, modify it as below
<View style={styles.container}>
  {this.renderContent()}
</View>
Create
renderContentmethodrenderContent = () => (
this.props.loading ?
<ActivityIndicator color='#87ceeb' /> :
<FlatList
keyExtractor={this.keyExtractor}
data={this.props.data}
renderItem={this.renderItem}
/>
)Create
renderItemmethodrenderItem = ({ item }) => (
<ListItem
title={item.commit.author.name}
subtitle={item.commit.message}
leftElement={this.renderLeftElement(item)
/>
)Create
renderLeftElementmethodrenderLeftElement = (item) => (
<View>
<Avatar
source={{ uri: item.author.avatar_url }}
size='medium'
rounded
/>
</View>
)Here is our new
CommitListincluding the styling to make it prettier gist | commit
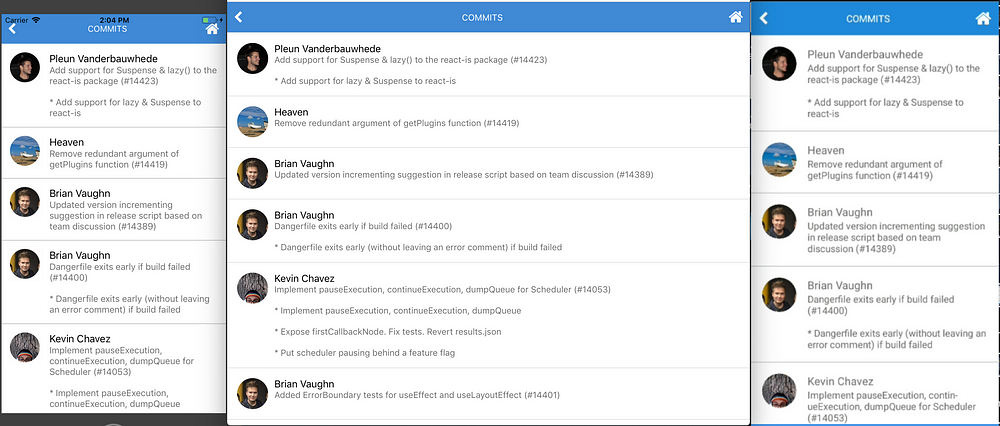
Here they are!
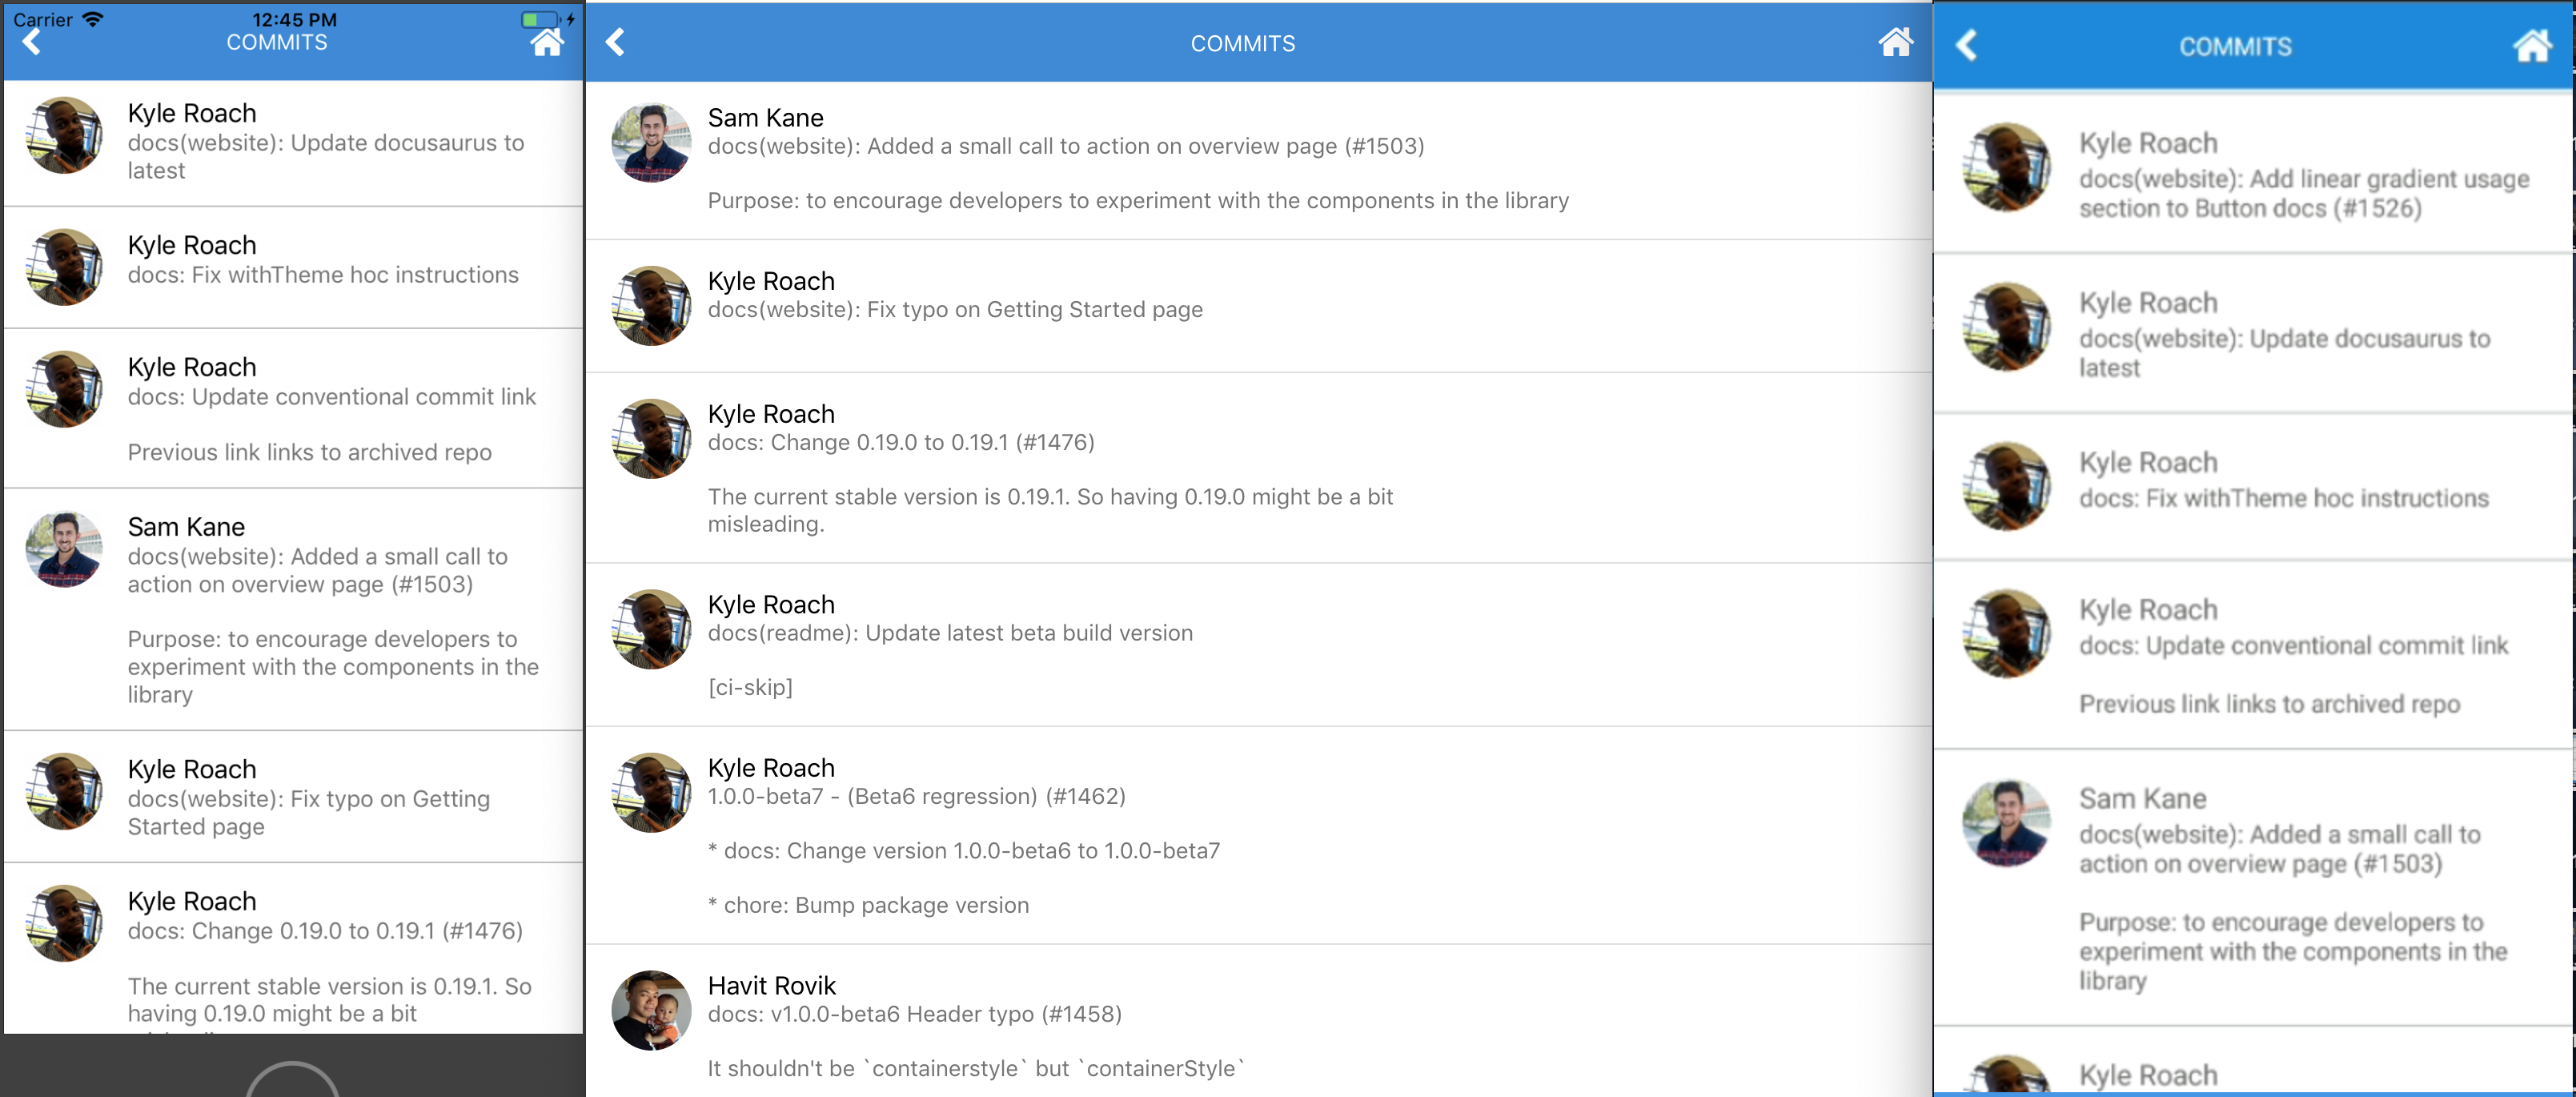 awesome, eh?
7️⃣ Handle form submission
Our app looks great so far. But we are not passing values from first to second screen. Let’s do it.
To handle form, we’ll use formik
$ yarn add formikOpen
Home.jsand import itimport { Formik } from 'formik';Wrap main
Viewwithformik<Formik initialValues={{ owner: '', repo: '' }}
onSubmit={this.onPressButton}>
{({ handleChange, handleSubmit, values }) => (
<View style={styles.container}>Add
onChangeTexthandler to theInput<Input ... onChangeText={handleChange('owner')} value={values.owner}
<Input ... onChangeText={handleChange('repo')} value={values.repo}Change
ButtononPressprops tohandleSubmit<Button ... onPress={handleSubmit}Don’t forget to close the main
View</View>
)}
</Formik>
Form submission: done 👌 Next question: How do we pass these values to second screen? Send them when we redirect to second screen!
Inside
onPressButtonmethod, send an object instead ofpathnameonly.this.props.history.push({
pathname: '/commit',
state: { owner, repo }
});Open
CommitList, importwithRouterimport { withRouter } from '../../Utils/Routing';Add
withRouterinsidecomposeGet the values passed down to
withRouterand use it tofetchwithHeader({ title: 'Commits' }),
withRouter,
fetch(({ location: { state = {} } }) => (
`https://api.github.com/repos/${state.owner}/${state.repo}/commits`
))
HOC’s order does matter. So, make sure it the same as snippet above. In case you lost, here is the commit: 1d83c5e.
Test the app. Now we should able to fetch any GitHub repository, with some caveats. 👀
8️⃣ Polishing the app
What happens if we fetch repository which doesn’t exist? Red screen on native, blank screen on web! 😹
fetch-hoc returns an error if it has. Let’s use it.
On
CommitList, modifyrenderContentthis.props.loading ?
<ActivityIndicator color='#87ceeb' /> :
this.renderFlatList()Import
Textfrom RNEimport { ..., Text } from 'react-native-elements';Add
renderFlatListmethodthis.props.error ?
<Text h4>Error: {this.props.data.message || '😕'}</Text> :
<FlatList ... />
Test it. Instead of red or blank screen, now Error: Not Found displayed.
What’s else? Try to fetch facebook/react-native. We got another error 🙀
Cannot read property 'avatar_url' of null
Not all of author have avatar_url. We should do this for the Avatar source.
source={{uri: (item.author && item.author.avatar_url) || undefined}}
So, our app renders nothing if it has no url? It doesn’t look good. Solution: render author initial name.
With the help of RegEx and Avatar title props, renderLeftElement should look like this now:
renderLeftElement = (item) => {
  const initials = item.commit.author.name.match(/\b\w/g) || [];

return (
    <View style={leftElementStyle}>
      <Avatar
        title={((initials.shift() || '') + (initials.pop() || ''))}
        ...
Commit for Polishing the app section: 943974b.
When I wrote this, fetch facebook/react-native returning following:
.](https://cdn-images-1.medium.com/max/3812/1*OYTvJP0RLLQemyT0ukb1Iw.png) Why no love for regex? Thanks to Sanoor.
Why no love for regex? Thanks to Sanoor.
Conclusion
We have created a simple app using RNE + RNW 👏
Works great on iOS, web and android? ✅
Use components from react-native-elements? ✅
Move between screens? ✅
API calls? ✅
Some improvements for gitphone:
If you go back from Commits screen, input form on Home screen are empty. If you want preserve previous values, this can be fixed easily by introducing redux to the app. References here: 48108dd.
Can we fetch more commits data once we reach the most bottom of the list? Infinite scroll?
For web, we can use react-visibility-sensor. Check it out: 6c1f689.
For native, it’s easier. We can use FlatList onEndReached props. To give you an idea how, see this: 9d2e1f2.
Troubleshooting 💺
#1 Build failed when running yarn android
:app:compileDebugAidl FAILED

FAILURE: Build failed with an exception.

* What went wrong:
Execution failed for task ':app:compileDebugAidl'.
> java.lang.IllegalStateException: aidl is missing

* Try:
Run with --stacktrace option to get the stack trace. Run with --info or --debug option to get more log output.

BUILD FAILED
Here is how to fix #1:
- Open Android Studio.
- Open
androidproject undergitphone.
- Click Update on this prompt.
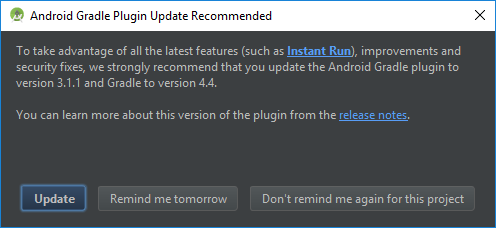
Wait for Android Studio syncing the project.
- It synced successfully with two errors.
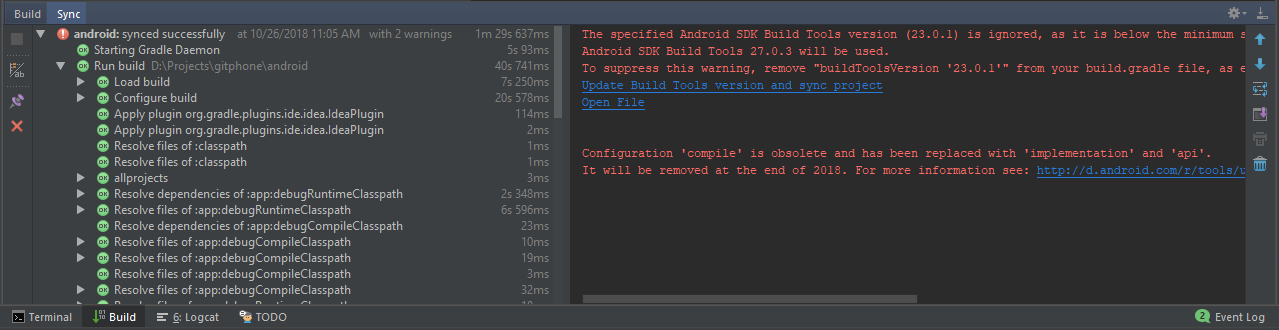
At this stage, just click
Update Build Tools version and sync projecton the sync window.Now, the remaining warning is the
Configuration 'compile'...To fix that, open
app/build.gradlefile, changedependenciessection (line 139) to useimplementationinstead ofcompile.dependencies { implementation fileTree(dir: "libs", include: ["*.jar"]) implementation "com.android.support:appcompat-v7:23.0.1" implementation "com.facebook.react:react-native:+" }
Sync it again and close Android Studio.

Troubleshooting for android is done. Now, you should be able to run yarn android successfully.
#2 Build failed when running yarn ios
** BUILD FAILED **

The following build commands failed:

 CompileC /gitphone/ios/build/Build/Intermediates.noindex/React.build/Debug-iphonesimulator/double-conversion.build/Objects-normal/x86_64/strtod.o /gitphone/node_modules/react-native/third-party/double-conversion-1.1.5/src/strtod.cc normal x86_64 c++ com.apple.compilers.llvm.clang.1_0.compiler
Here is how to fix #2:
Inside the project, run script below from your favourite terminal
$ curl -L https://gist.githubusercontent.com/fiznool/739b8e592596b5731512edfd77a1a2e9/raw/e0123e0b2382e127f1cfd6e28228315f1299738f/fix-rn-xcode10.sh | bash
If you run yarn ios again, and you got this error
The following build commands failed:
 Libtool /gitphone/ios/build/Build/Products/Debug-iphonesimulator/libRCTWebSocket.a normal x86_64
(1 failure)
Please run this script:
$ cp ios/build/Build/Products/Debug-iphonesimulator/libfishhook.a node_modules/react-native/Libraries/WebSocket
Troubleshooting for iOS is done. Now, you should be able to run yarn ios successfully.